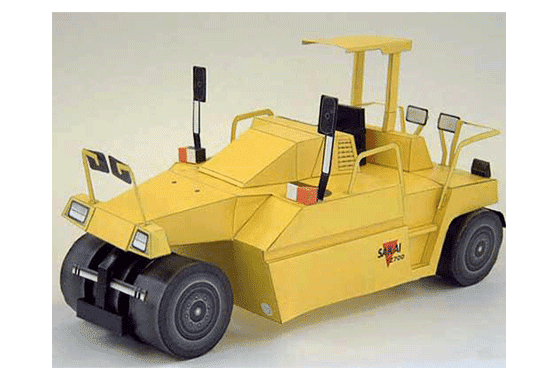
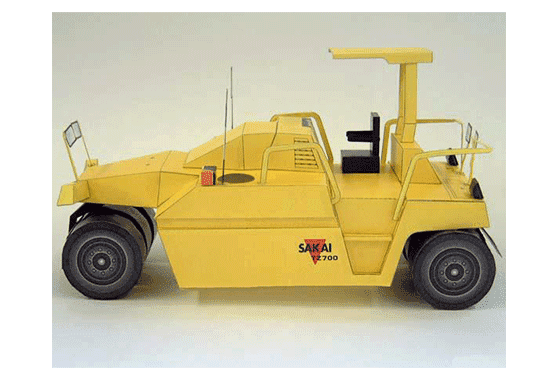
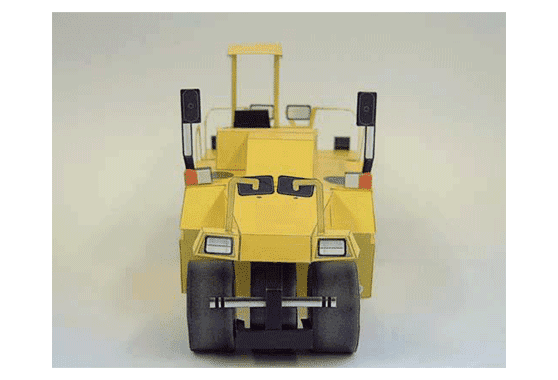
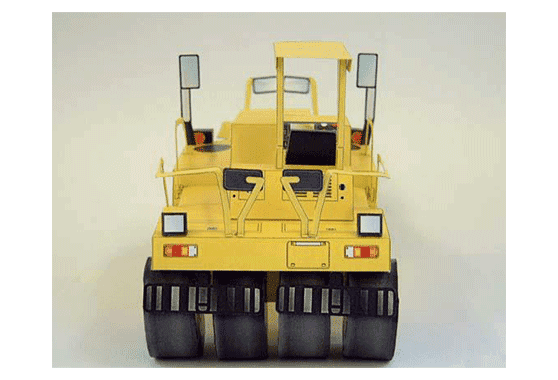
TZ700
Paper CraftDownload
 Please pay special attention when you handle a cutter knife and a sharp instrument.
Regarding all our papercraft contained herein, they are prohibited to reproduce and use for other purposes of profit-making without our permission.
Making proceduresTZ700
-
1
- Download a file and printout using an optional paper.
-
2
- Carefully cut outward form off by a cutter knife, etc.
-
3
- Lightly trace a fold part by a thing having sharp point and crease. Be careful, if you trace strongly, the paper will be torn.
-
4
- At the end of a cutting, if you paint a close color on each part by a colored pencil, etc., the pasted portions will not be noticeable.
-
5
- Assemble the tires and each part beforehand. As the glue parts of the mirror and the pipe are very small, please be careful not to tear.
-
6
- Crease the body and make the form.
-
7
- Assemble and glue to the body.
-
- Put the step part (1) into the cut part of (2).
- Glue (2) to the body with making sure the front and the rear.
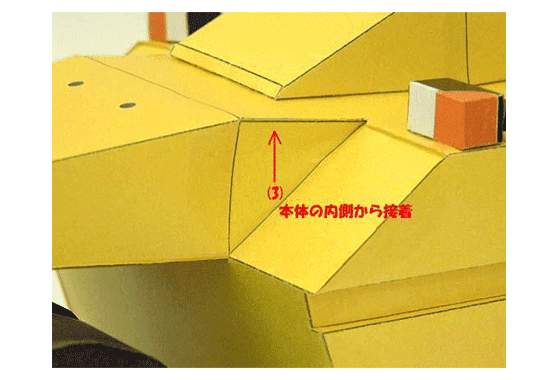
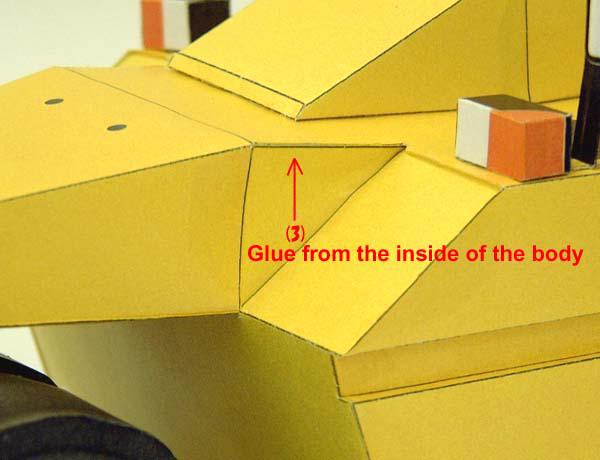
- Make sure the front and the rear of (3) and glue from the backside of the body.
-
-
- Glue (4) to the body.
- Assemble the rear part (5) of the body, then the body except the surface of the bottom is completed.
-
8
- Glue the assembled tires to the body.
-
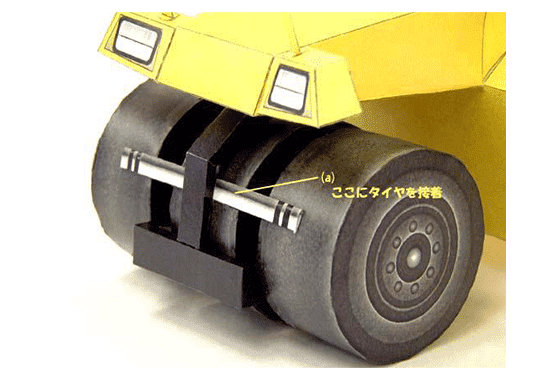
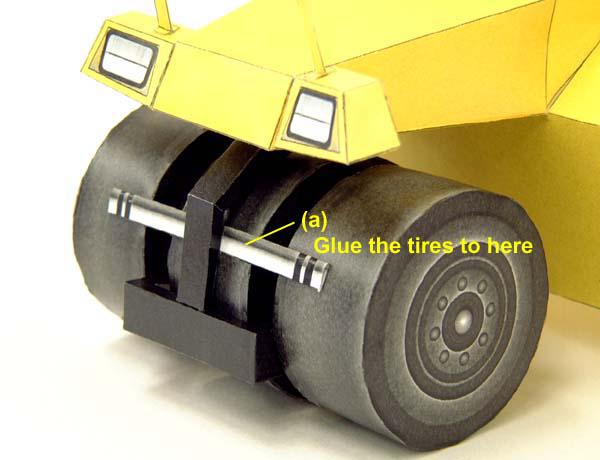
- Front: Assemble (6) beforehand and then glue 3 tires to (a) equally.
-
-
- After glued the tires, fold (like a valley) the margin left for applying paste of (D) and then glue to the body.
- Rear: Glue 4 tires to the body directly and equally. After you made sure the front and the back of the fender (7), glue it.
-
9
- Glue the driver’s seat, the light and other parts to the places at where the same symbols as the body are shown.
(There are some parts which do not have any symbols) -
- For the instrument board, please make sure its position referring to the completion photo and glue it to the body.
- The pipe and the mirror are to be glued at the end.
As the rear pipe is to be glued with twisting, pay careful attention so as not to tear.
- Glue the driver’s seat, the light and other parts to the places at where the same symbols as the body are shown.
-
10
- The work is finished when you glue the body to the surface of the bottom!
☆For the glue position of the small parts, please refer to the completion photo. -
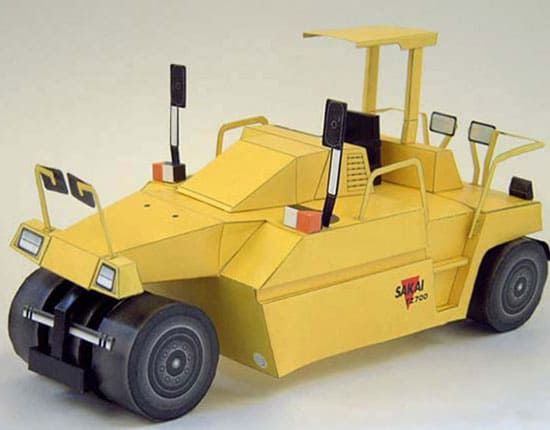
- The completion photo
☆After completed, hold the sides of the body so as not to crush.
※The wire is inserted into the mirror pipe shown on the completion expected photo.
- The work is finished when you glue the body to the surface of the bottom!

